How To Make A Wax Seal Stamp
November 14, 2023
Wax seal stamps have a rich history and add a personal, elegant touch to letters and documents. They add sincerity and tenderness to every message, making it unique. In this guide, I'll show you how to use a wax seal stamp easily and effectively. We'll cover choosing the right materials, melting the wax correctly, and creating a perfect seal. You will discover practical advice to make your sealing procedure easy and pleasurable, regardless of experience level.
What is a wax seal stamp?
A classic tool for adding a special, personalized touch to letters and papers is a wax seal stamp. It consists of two parts: a metal stamp and a handle. The stamp often has a design, like a letter, symbol, or family crest. You use it by melting a special sealing wax and then pressing the stamp into the wax before it hardens. This produces a unique stamp that may be used to conclude a letter, add visual flare, or denote legitimacy. Adding a timeless and refined touch to any message, wax seal stamps are often used for wedding invitations, certificates, and crafts.
What is the purpose of a wax seal stamp?
A wax seal stamp serves several purposes, blending functionality with an elegant touch of tradition. Here are the key points outlining its uses:
Authenticity and Security
Historically, wax seals were a way to authenticate documents and letters. The unique stamp design acted as a signature. Since the only method to read the letter was to break the seal, the seal further guaranteed the security of its contents.
Decoration and Aesthetics
Wax seals add a decorative, sophisticated flair to correspondence. They are perfect for invitations, thank-you notes, and gift wrapping. The variety of wax colors and stamp designs allows for personalization and artistic expression.
Personalization
Custom stamps can feature initials, family crests, or symbols that represent the individual or organization. This intimate and distinctive touch adds a personal touch to the correspondence.
Ceremonial Use
Wax seals are frequently used to give invitations and certificates a formal, historical appeal at occasions like weddings. They imbue a sense of tradition and importance to the event.
Crafting and Scrapbooking
In the world of crafting, wax seals are used to embellish scrapbooks, journals, and handmade cards. They offer a unique and tactile element that enhances the visual appeal of crafts.
Business and Professional Use
Businesses use wax seals to elevate the presentation of important documents, awards, or exclusive product packaging. A wax seal may exude elegance, refinement, and careful attention to detail.
Legal and Official Documents
In some contexts, wax seals are still used for legal documents to signify their validity and importance. They provide a formal, official look that underscores the document’s significance.
Collectibles and Hobbies
Collecting different wax seal stamps and waxes has become a hobby for many. It combines art, history, and craft. Enthusiasts often exchange seals and techniques, building a community around this elegant tradition.
Educational Tools
Wax seals can be used in educational settings to teach history, art, and letter writing. They offer a hands-on experience that brings historical practices to life.
Environmental Consideration
As a plastic-free way to seal envelopes, wax seals are an eco-friendly option compared to adhesive tapes and stickers.
Wax seal stamps serve a multifaceted purpose that goes beyond just sealing letters. They add a personal, artistic, and formal touch to various documents and crafts. From authenticating important papers to beautifying personal correspondence, wax seals carry a timeless charm that bridges history and modernity.
How to make a wax seal stamp?
Creating a wax seal stamp is an engaging and artistic process. Here's a step-by-step process for making your wax seal stamp:
Designing the Stamp
Choose a design for your stamp first. This could be your initials, a symbol, or any design you like.
Draw the design on paper or create it using a computer program. Keep the design simple for clear impressions.
Choosing the Right Materials
You'll need a piece of metal for the stamp head. Because it is so durable, brass is a popular option.
For the handle, you can use wood, plastic, or any comfortable material that can be attached to the metal.
Transferring the Design
Transfer your design onto the metal piece. You can do this by using transfer paper or by tracing it directly.
Ensure the design is mirrored so that it stamps correctly.
Carving the Stamp
Using metal carving tools, carefully carve out your design. This step requires precision and patience.
Remove metal around the design to create a raised effect. The raised areas will form the seal.
Smoothing and Finishing
Smooth out the carved metal surface to ensure a clean and even stamp.
You can use fine sandpaper or a metal file for this.
Attaching the Handle
Attach the handle to the metal stamp head. You can use strong glue, screws, or any secure method.
Make sure the handle is firmly attached and aligned with the design.
Testing the Stamp
Melt some sealing wax on a non-important document or paper.
Press your new stamp into the wax gently but firmly, then lift it off to see the impression.
Make adjustments to your stamp if necessary.
Perfecting Your Technique
Practice stamping to get a feel for the right amount of pressure and wax needed.
Experiment with different types of wax to see which works best with your stamp.
Caring for Your Stamp
Clean the stamp's metal portion after each use to get rid of any leftover wax.
To avoid damage or rust, keep your stamp in a dry location.
Creating Seals
Now, use your stamp to create seals on letters, invitations, or for crafting.
Savor the unique touch your handcrafted wax seal stamp gives to your papers and crafts.
Creating a wax seal stamp is a rewarding project that allows you to put a personal touch on letters and crafts. It requires some skill in metalworking and patience, but the result is a unique tool that you can use for years to come. An exquisite handmade wax seal stamp is a great addition to any stationery collection, whether you're a hobbyist or just want to give your letter a unique touch.
How to use wax seal stamp?
Using a wax seal stamp is a fun and elegant way to add a personal touch to letters, invitations, or gift packaging. To assist you in getting started, here is a step-by-step:
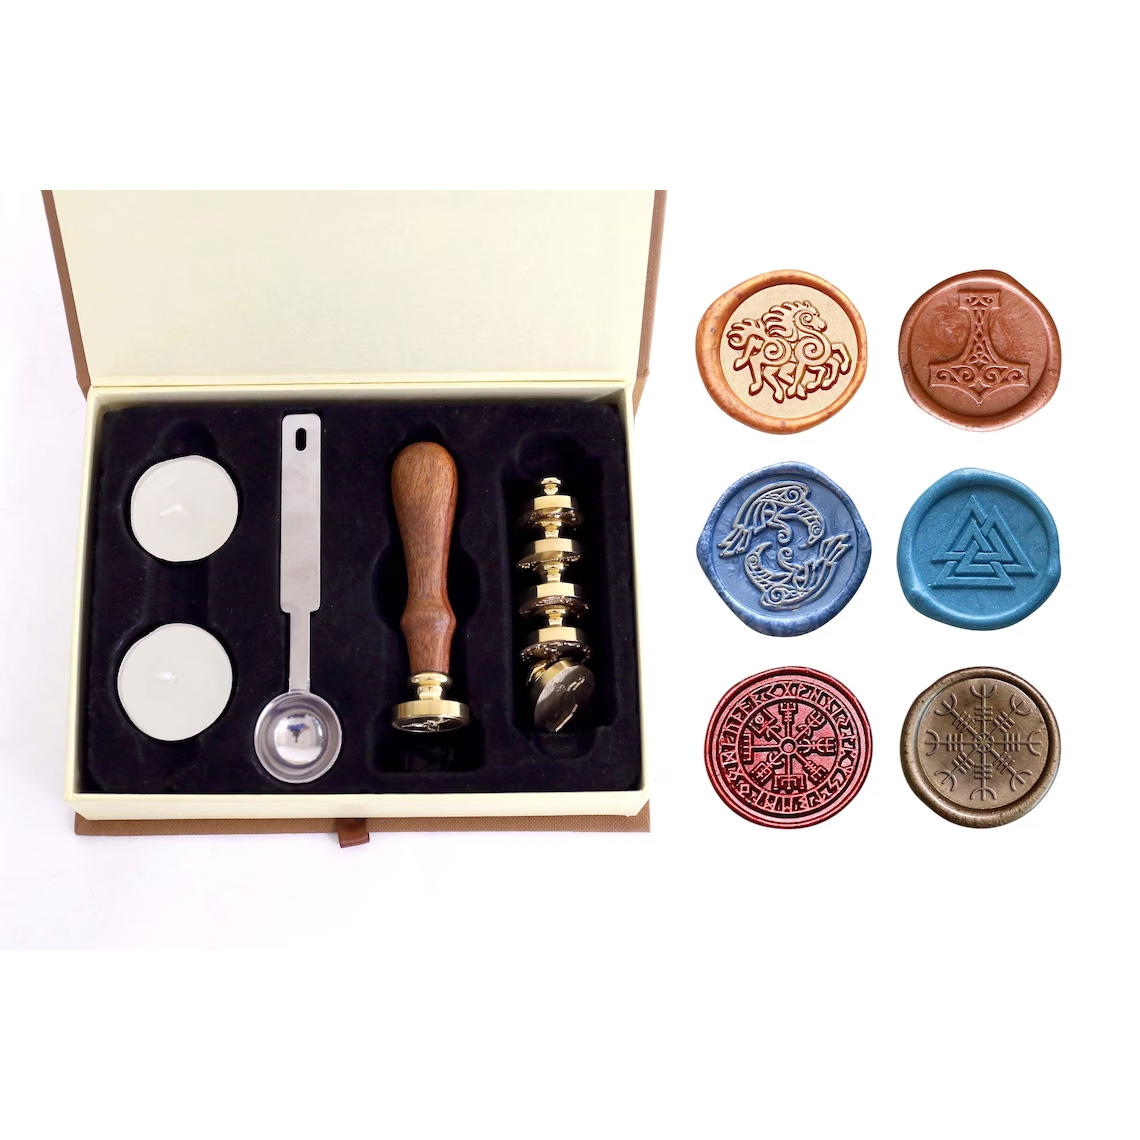
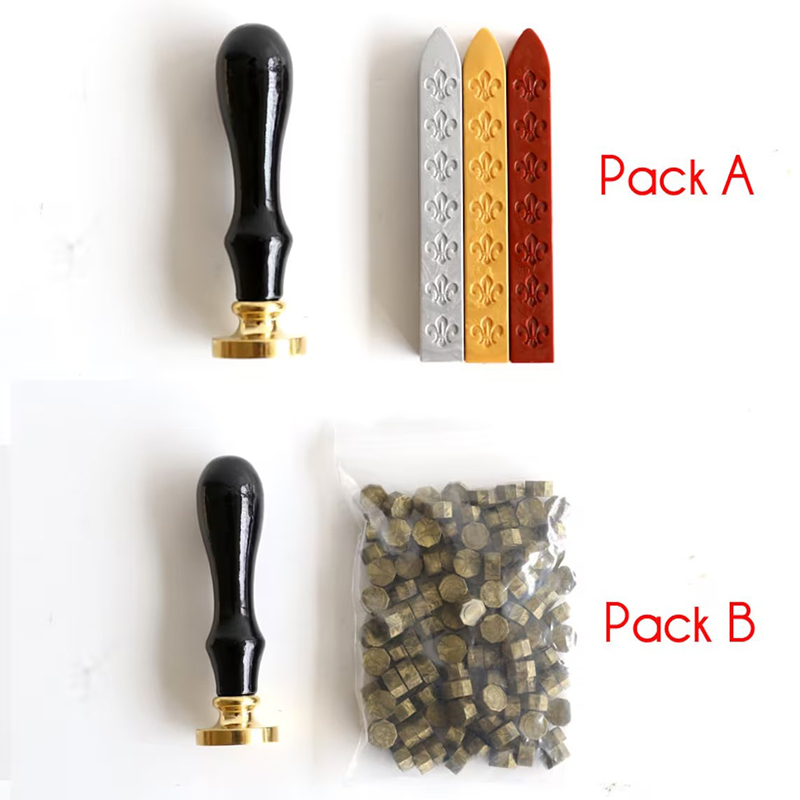
Gather Your Materials: First, you'll need a wax seal stamp, sealing wax sticks, and a source of heat like a candle or a lighter. Make sure the surface you're working on is tidy and level.
Prepare the Sealing Wax: Hold the end of the wax stick close to the flame. Let the wax melt until a small pool forms. It usually takes a few seconds. Keep the wax stick moving to avoid burning.
Drip the Wax: Apply the heated wax to the desired sealing surface by dripping it there. Aim for a small puddle, about the size of a coin. The amount of wax will affect the seal size.
Press the Stamp: Quickly, before the wax hardens, press your stamp firmly into the wax. Hold it there for a few seconds. Ensure you press evenly to create a clear impression.
Let It Cool: After pressing, wait about 10-15 seconds before gently lifting the stamp. This allows the wax to cool and the seal to set properly.
Clean Your Stamp: After use, clean any residual wax off your stamp. You can use a gentle cloth or paper towel. This step ensures your next seal will be just as perfect.
Exercise Makes Perfect: If you're not perfect the first few times, don't stress. Practice makes perfect. Try different amounts of wax and pressing times to find what works best for you.
Wax sealing is an art form. Each seal you make is unique.