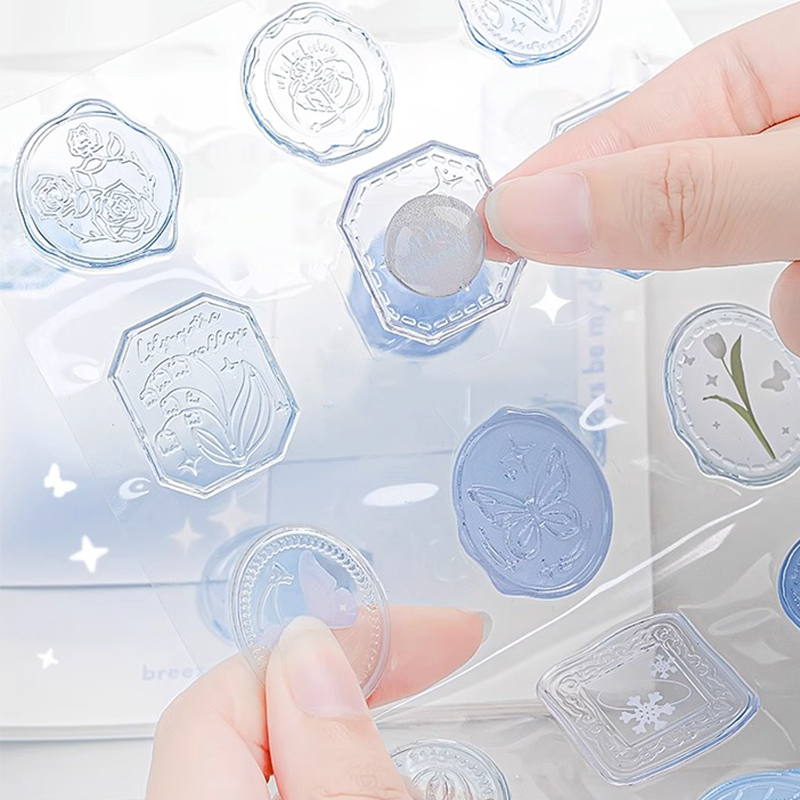
How To Make Your Stickers With Wax Paper
November 26, 2023
Making your stickers with wax paper is a fun and creative DIY project that anyone can enjoy! It's a fantastic way to bring your ideas to life and personalize your belongings. With just a few simple materials like wax paper, clear packing tape, and your favorite designs, you can create unique and custom stickers. Whether you're a crafting enthusiast or trying this for the first time, this activity promises an enjoyable and rewarding experience. Get ready to unleash your creativity and add a personal touch to your notebooks, laptops, or any item you cherish!
What is a Sticker?
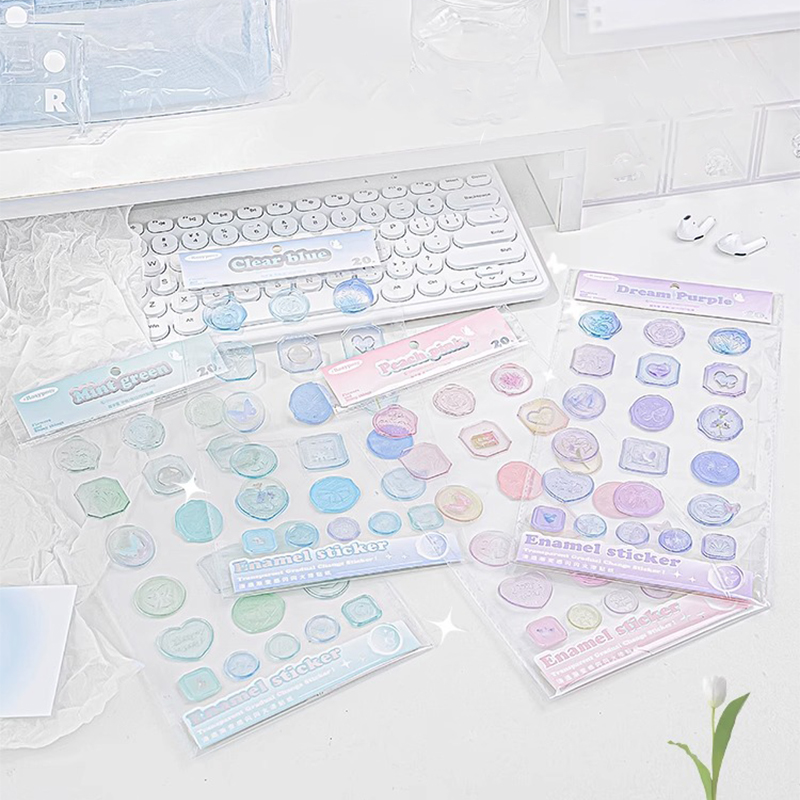
A sticker is a little piece of plastic or paper with an image or text printed on one side. It sticks to surfaces like walls, notebooks, or laptops. Stickers can be decorative or used for labeling. They come in many shapes, sizes, and colors. People of all ages love them for personalizing their belongings. Stickers often represent personal interests or favorite brands. They're easy to use: just peel off the backing and stick them where you want. They are great for scrapbooking, crafts, and decoration. Plus, they're fun to collect and swap with friends.
Can I make stickers with wax paper?
Yes, you can make stickers with wax paper! It's a fun and easy DIY project. First, you need clear packing tape and your desired sticker design. Print or draw your design on regular paper. Then, place a strip of clear packing tape over the design. Smooth out any bubbles for a clear finish. Next, put the taped design onto a piece of wax paper. The backing for the sticker is the wax paper. Finally, cut around the design, leaving a small border. Your homemade sticker is ready! Just peel off the wax paper when you're ready to use it.
How to make your stickers with wax paper?
Making your own stickers at home is a fun and creative project that you can do with wax paper. It's simple and affordable, and you can customize stickers to your liking. Here's a step-by-step process to help you make your stickers using wax paper.
Step 1: Choose Your Design
The first step is selecting your sticker designs. You can draw them by hand or print them out. If you're drawing, use markers or pens for vibrant colors. For printing, any standard printer will do. Verify that the designs you have fit inside the packaging tape's width.
Step 2: Prepare the Packing Tape
Cut a piece of clear packing tape, longer than your design. On a level surface, place it sticky side up. Be careful to avoid creases or folds.
Step 3: Apply the Design
Place your design face down onto the sticky side of the tape. Ensure the entire design is covered. This step seals the front of your sticker, making it more durable.
Step 4: Smooth Out Bubbles
Using a flat object like a credit card, gently smooth out any air bubbles. This step is crucial for the sticker to seem clear and professional.
Step 5: Prepare the Wax Paper
Cut a piece of wax paper slightly larger than your taped design. You may easily remove and attach your sticker later because the wax paper will serve as its backing.
Step 6: Attach the Wax Paper
Place your taped design onto the wax paper. Be careful to align it properly and avoid wrinkles.
Step 7: Cut Out Your Sticker
Using scissors, cut around your sticker. Leave a small border of tape around the edges to ensure it's fully sealed.
Step 8: Repeat for More Stickers
If you want more stickers, repeat the process. You are free to create as many as you wish in different shapes and sizes.
Step 9: Use Your Stickers
Your homemade stickers are ready to use! Remove them from the wax paper and adhere them to walls, notebooks, or laptops, among other surfaces. They're great for personalizing your items.
Step 10: Store Your Stickers
If you're not using them right away, keep your stickers flat in a cool, dry place. This will preserve their stickiness and appearance.
Additional Tips
If you’re printing designs, consider using a laser printer as it provides more water-resistant and smudge-proof prints.
Experiment with different types of paper for your designs, like glossy or matte, to see which effect you like best.
For a more durable sticker, you can use a second piece of packing tape over the back of the wax paper.
Once the tape is on, you may use craft punches to cut out shapes out of your patterns.
Making your stickers with wax paper is a fun, creative, and easy project. It allows you to personalize your belongings and express your style. Whether you’re crafting with kids, preparing for a special event, or just exploring your creativity, this DIY project offers endless possibilities.
What is the proper technique to use wax paper and stickers?
Using stickers made with wax paper is a fun and creative way to personalize your items. The correct way to use these stickers ensures they stick well and last longer. Here's a detailed guide to help you use your wax paper stickers the right way.
Step 1: Choose the Right Surface
The first step is to choose a clean, smooth surface for your sticker. Wax paper stickers stick best on flat surfaces like notebooks, laptops, and phone cases. Avoid textured or damp surfaces as they can weaken the adhesive.
Step 2: Clean the Surface
Before applying your sticker, clean the surface with a dry cloth. This removes any dust or oil that might prevent the sticker from sticking properly.
Step 3: Peel the Sticker
Peel the sticker off the backing wax paper gently. Be careful not to touch the adhesive side too much as oils from your fingers can reduce its stickiness.
Step 4: Position the Sticker
Hold the sticker close to the surface where you want to apply it. Take your time in locating the ideal location. Once you're happy with the placement, gently lay the sticker down.
Step 5: Smooth it Out
Use your fingers or a flat object like a credit card to smooth out the sticker. Start from the center and move outwards. This helps to remove any air bubbles and ensures the sticker adheres well.
Step 6: Press Firmly
Press down firmly on the sticker for a few seconds. This helps to secure it in place. Be careful not to move the sticker as you press.
Step 7: Check the Edges
After sticking, check the edges of the sticker. If any part isn't sticking well, gently press it down again until it's secure.
Step 8: Be Gentle
Remember, wax paper stickers are not as durable as commercial stickers. Handle them gently to avoid tearing or peeling.
Step 9: Avoid Moisture
Try to keep your sticker away from water or moisture. If your sticker gets wet, it might lose its stickiness.
Step 10: Enjoy Your Personalized Item
Now your item has a personal touch with your homemade sticker! Enjoy showing it off to your friends and family.
Wrapping Up
Using stickers with wax paper is a simple process, but doing it correctly ensures they look great and stay put. Whether you’re decorating a notebook or customizing a gift, these stickers add a unique and personal touch. So, clean your surface, position your sticker, and enjoy your personalized creation!