How To Make Stickers At Home With Wax Paper
November 07, 2023
Stickers are awesome little pieces of art you can stick on things to decorate them. They're like mini posters or badges that show off what you like or how you feel. Want to make your stickers at home? It's super easy! You just need wax paper, some clear tape, and any picture you love. With a few simple steps, you can turn your drawings or printed images into cool stickers. You can stick them on your books, laptop, or even give them to friends. Let’s get sticky and craft some homemade stickers!
What are stickers?
Stickers are fun, colorful adhesive labels that you can stick on various surfaces. Kids love decorating with them, and adults use them for labeling. They have a wide variety of themes, sizes, and forms. You might see shiny stars, cartoon characters, or even motivational quotes on them. People often collect stickers to personalize items like notebooks, laptops, and water bottles. They make things stand out and show off their style. They're not just for decoration, though. Functional stickers help organize files or highlight important dates on calendars. They're small, but they add big fun and function to everyday items!
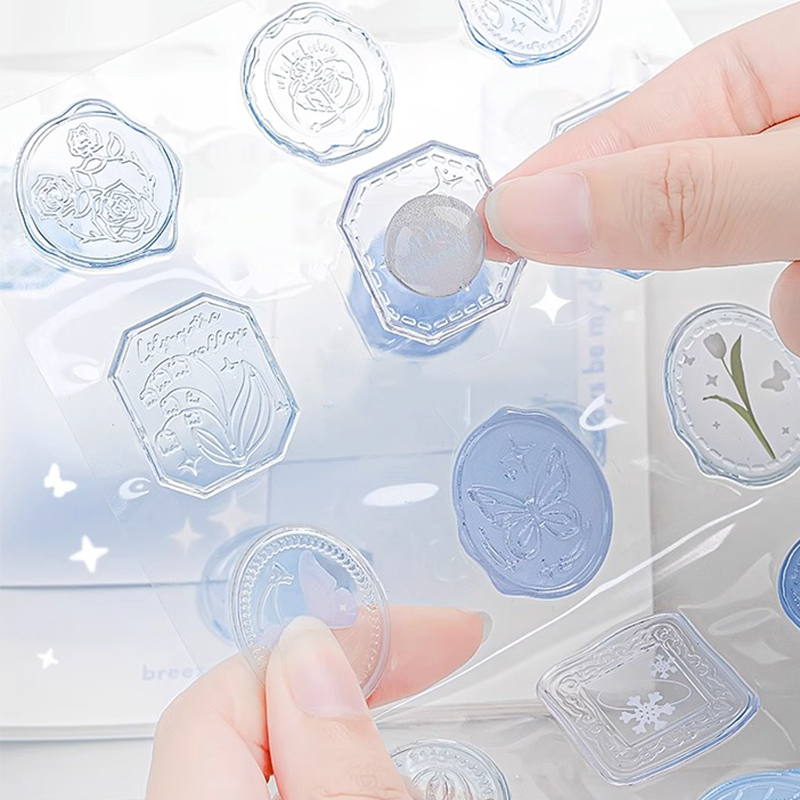
Can I make stickers with wax paper at home?
Sure, you can make stickers at home with wax paper! It's an easy and fun project. Start with your chosen design or image. Cut a piece of wax paper to fit your sticker. Then, place your image on the wax paper and cover it with clear packing tape for protection. Press down firmly to avoid air bubbles. Trim the edges, leaving a small tape border. The tape's stickiness will hold your sticker in place. Peel off the wax paper when you're ready to use it. Stick it on notebooks, phones, or anywhere you like!
How to make stickers at home with wax paper?
Making stickers at home with wax paper is a creative and fun activity you can do by yourself or with friends and family. You don’t need fancy equipment, just some household items and a bit of creativity. Here's a step-by-step process for making your stickers.
What You'll Need
Wax paper
Clear packing tape
Scissors
Designs (drawn or printed)
Pencil or pen (if drawing)
Markers, crayons, or colored pencils (if drawing)
Printer (if printing designs)
Step 1: Create Your Design
Start by deciding what your sticker will look like. You can draw something by hand or print a design from your computer. If you're drawing, use bold, vivid colors to make sure your sticker pops. Once you're happy with your design, cut it out, leaving a small border around the edges.
Step 2: Prepare the Wax Paper
Cut a strip of wax paper that's larger than your sticker design. The wax paper acts as a backing for your sticker, so make sure it's big enough to handle.
Step 3: Apply the Tape
Take your clear packing tape and carefully apply it over your design. Lay the tape down smoothly to avoid any wrinkles or bubbles that could affect the final look of your sticker. This tape layer will make your sticker durable and somewhat water-resistant.
Step 4: Press and Cut
Once your design is covered in tape, use the edge of a credit card or ruler to press down firmly. This step helps to seal the tape to the design and to push out any air trapped underneath. Then, cut around your design, making sure to leave a border of tape around the edges to seal it completely.
Step 5: Peel and Stick
When you want to use your sticker, simply peel the wax paper off the back, just like you would with a store-bought sticker. The sticky side of the tape will allow you to place your homemade sticker on surfaces like notebooks, laptops, or even walls.
Step 6: Decorate and Share
Now that you've made your sticker, it's time to find the perfect spot for it. You can also make more stickers and create a collection, or even give them out to friends and family as gifts.
Tips for Success
Make sure the ink is dry if you print your designs to avoid smudging.
If your stickers lose their stickiness, you can use a bit of double-sided tape to help them adhere better.
Experiment with different types of tape, like matte or glossy, to see which one you prefer.
You can make stickers of different shapes, not just rectangles and squares. Get creative with your cuts!
If you want to make stickers for items that might get wet, like a water bottle, look for waterproof tape.
Troubleshooting Common Issues
Bubbles Under the Tape: If you get bubbles, gently lift the tape and smooth it back down. If the bubble is stubborn, you can pop it with a pin and smooth it out.
Tape Won’t Stick: Make sure your hands and the surface you’re working on are clean and dry. Oils and dirt can prevent the tape from sticking.
Wax Paper Won’t Peel Off: If you’re having trouble peeling the wax paper from the tape, try folding the edge of the sticker so you can grip the wax paper more easily.
Making stickers with wax paper is a fantastic way to express your creativity and personalize your belongings. It’s a straightforward process that yields unique and personal results. So, get your supplies together, let your imagination run wild, and start making your very own stickers today!
FAQs
What kind of images can I use to make stickers?
You can use any image you like! Draw your pictures with markers or pencils, or print out your favorite photos. Make sure to use bold and bright colors if you're drawing, so your stickers pop. Just remember that the image should fit under the tape you have to seal it.
Will these homemade stickers come off easily?
Your homemade stickers will stick well if you press the tape down firmly. They might not be as strong as store-bought ones, but you can always add more tape or use double-sided tape to make them stickier. They’re great for items that don't need washing, like notebooks or planners.
Can I make waterproof stickers with wax paper?
To make your stickers waterproof, use clear packing tape that is labeled as water-resistant. This will protect your design from moisture. However, they might not survive a dishwasher or a deep dive, but a little splash won't hurt them. So, go ahead and decorate items that might get a light sprinkle!
