How To Make Stickers With Wax Paper
December 04, 2023
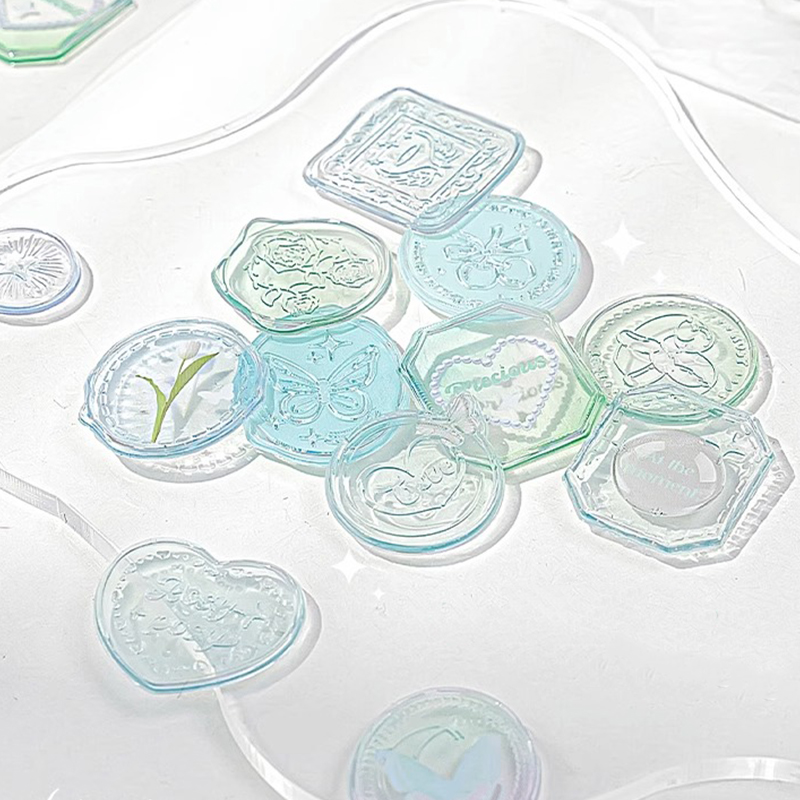
Creating stickers with wax paper is a delightful and straightforward craft that anyone can enjoy. This process transforms simple materials like wax paper, packing tape, and regular printer paper into unique, personalized stickers. Whether you're a crafting enthusiast or a beginner looking for a fun project, this method is perfect for you. It's cost-effective, highly customizable, and a great way to express your creativity. From decorating personal items to making gifts for friends, these homemade stickers add a special touch to anything they adorn.
How To Make Stickers With Wax Paper? Step by step
Making stickers with wax paper is a fun and creative project that can add a personal touch to your belongings, gifts, or crafts. We will help you create your custom stickers easily. Let's see this exciting and rewarding process!
Step 1: Gather Your Materials
You'll need a few things before you start. Gather wax paper, clear packing tape, scissors, and your printed sticker designs. Choose designs that reflect your personality or the theme you're aiming for. Make sure your printer is ready with quality ink for vibrant prints.
Step 2: Print Your Sticker Designs
Start by printing your chosen designs. Use a standard printer and regular paper for this. Pick colorful, high-contrast images for the best results. Remember, the size of your print should match the size of the stickers you want.
Step 3: Prepare the Wax Paper
Cut a piece of wax paper. It should be slightly larger than your printed design. This extra space helps during the sealing process. Lay the wax paper down on a flat surface, with the waxy side up.
Step 4: Apply the Packing Tape
Now, take your clear packing tape. Carefully apply it over the wax paper. Try to avoid wrinkles or air bubbles. This phase calls for a steady hand and a little patience. The tape acts as the adhesive layer for your sticker.
Step 5: Place Your Design
Once the tape is in place, take your printed design. Make little cuts all around your design. To the wax paper wrapped with tape, place it facing down. For it to adhere properly, press it hard.
Step 6: Seal the Sticker
After placing your design, cover it with another layer of packing tape. This seals your sticker and gives it a glossy finish. Again, aim for a smooth, wrinkle-free application. The better the seal, the more durable your sticker will be.
Step 7: Cut Out Your Stickers
Now it's time to cut out your stickers. Use your scissors to trim around each design. Leave a small border of tape around the edges to ensure the sticker stays sealed.
Step 8: Peel and Stick
Your stickers are almost ready! Gently peel the wax paper away from the back of your sticker. You'll see the sticky side of the tape is now your adhesive. Place your sticker wherever you like – notebooks, laptops, or water bottles.
Step 9: Enjoy Your Creation
Congratulations! You've successfully made your stickers using wax paper. Enjoy decorating your items or share them with friends and family. Each sticker carries your personal touch and creativity.
Making stickers with wax paper is not just a craft; it's an expression of your creativity. Whether you're making them for fun or a special occasion, the process is equally enjoyable and fulfilling. Experiment with different designs and sizes. Share this activity with friends or family for a fun crafting session.
FAQs
What type of paper should I use for printing the sticker designs?
For printing your sticker designs, regular printer paper works best. It's readily available and inexpensive. The ink from your printer adheres well to this paper, ensuring your designs are vibrant and clear. Avoid using thicker paper like cardstock, as it might not stick properly to the wax paper and tape, leading to peeling or poor adhesion.
Can I use any tape for sealing the stickers?
Clear packing tape is the most effective for this project. Its transparency ensures that your sticker design shows through clearly, and its adhesive strength ensures that the layers of your sticker stay intact. The tape also gives a glossy finish, enhancing the look of your stickers. Avoid using matte or textured tapes, as these may not adhere properly to the wax paper, or might obscure the design. The goal is to protect and showcase your sticker, so the clarity and stickiness of the tape are crucial.
How long do these wax paper stickers last?
The lifespan of your homemade stickers can vary. On items that don't see much wear and tear, like the cover of a notebook or the side of a computer, your stickers can last for months or even years. However, if you stick them on items that are handled frequently, like a phone case, or exposed to the elements, like on a car, they may start to peel or fade sooner. While the packing tape provides some protection against moisture and handling, these stickers are not as durable as commercially made, vinyl stickers.
Can I make waterproof stickers with this method?
While this DIY method does provide some level of water resistance thanks to the packing tape, it doesn't make the stickers fully waterproof. They can handle light moisture, like splashes or droplets, but prolonged exposure to water could cause the ink to smudge or the sticker to peel away. For items that are likely to get wet, like water bottles or outdoor gear, you might want to reinforce the edges with extra tape or limit their exposure to water.
Is it possible to remove the stickers without leaving residue?
These homemade stickers can usually be peeled off without leaving much residue behind, especially if they're applied to smooth, non-porous surfaces like glass or plastic. However, if some sticky residue remains, you can gently rub it off with a damp cloth. If the residue is stubborn, a bit of rubbing alcohol on a cloth can help. Be gentle to avoid damaging the surface you're cleaning.
