How To Make Homemade Stickers With Wax Paper
December 01, 2023
Making homemade stickers with wax paper is not just a fun and creative activity, but it also offers several benefits. Firstly, it's an incredibly cost-effective way to create personalized stickers, much cheaper than buying them. Moreover, it allows you to unleash your creativity, as you can design and customize stickers to your liking. It's also a great activity for all ages, perfect for family craft time or individual relaxation. Using wax paper makes the process easy and accessible, as it's a common household item.
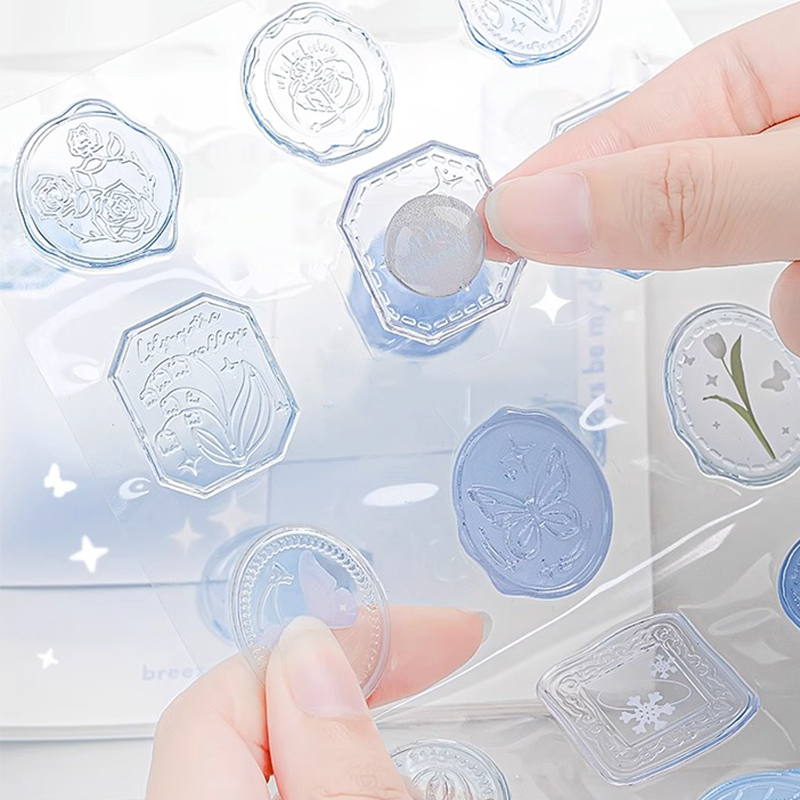
Can I use wax paper to make stickers?
You can use wax paper to make stickers! It's a fantastic and easy method. First, choose your image, either a drawing or a printout. Then, cover it with clear tape on both sides for protection and stickiness. Next, place this taped image on the wax paper, which acts as the sticker backing. Finally, cut out your sticker, leaving a small border. Wax paper is great for this because it peels off easily, allowing you to stick your homemade sticker wherever you like. It's a simple, fun way to create personalized stickers at home!
How to make homemade stickers with wax paper? Step by step
Let's see a step-by-step guide on how to make homemade stickers using wax paper.
Materials Needed
Wax Paper: This will serve as the backing for your stickers.
Clear Tape: Essential for sealing the image onto the wax paper.
Scissors: For cutting out images and trimming the stickers.
Pencil or Pen: Useful if you decide to draw your images.
Images: These can be printed or hand-drawn. Consider using vibrant colors for added appeal.
Adhesive Spray (Optional): For extra stickiness of the sticker.
Detailed Steps
Step 1: Selecting and Preparing Images
Choose Images: Start by deciding what images you want to turn into stickers. This could be anything from your drawings, printed images from the internet, or even small photographs.
Print or Draw: If you're using printed images, print them on standard printer paper. If you're drawing, use any paper that's easy for you to draw and color on.
Cutting Out: Once you have your images, use scissors to cut around them. Aim to leave a small border (about a quarter of an inch) around the image to make the next steps easier.
Step 2: Preparing the Wax Paper
Cutting Wax Paper: Cut a piece of wax paper that's slightly bigger than your image. This ensures your entire image will easily fit on the sticker backing.
Step 3: Attaching Image to Wax Paper
Applying Tape: Take your clear tape and place it over the front side of your image. Make sure it's smooth and covers the entire front surface of your image.
Sticking to Wax Paper: Place your taped image onto the wax paper. The tape should adhere to the waxy side of the paper.
Step 4: Sealing the Sticker
Back Tape: Now, cover the back side of your image (the side that's now facing you) with another piece of clear tape. This encloses your image between two layers of tape, essentially "laminating" it.
Optional Step: Enhancing Stickiness
Adhesive Spray: If you want your sticker to stick better, spray a light coat of adhesive spray on the back. Let it dry completely before moving to the next step.
Step 5: Cutting Out the Sticker
Trimming: Use your scissors to cut around your sticker. Keep a small border of wax paper and tape around the edges of your image. This helps to seal the sticker and gives it a neat, finished look.
Step 6: Using Your Stickers
Application: Your stickers are now ready! Peel them off the wax paper backing and place them wherever you'd like. They adhere well to surfaces like paper, metal, and plastic.
Tips for Success
Smooth Out Bubbles: When applying tape, do it slowly and carefully to avoid air bubbles.
Quality Images: If printing, use a good quality printer for clearer, brighter images.
Creative Choices: Feel free to experiment with different shapes, sizes, and types of images.
Storage: Store your unused stickers flat and in a cool, dry place to preserve their adhesive quality.
Making your stickers with wax paper is not just a craft, but an outlet for creative expression. Whether you're personalizing your items or creating gifts for others, the process is both enjoyable and rewarding.
FAQs
Can I use any type of paper for my sticker designs?
Yes! You can use any paper for your designs, like standard printer paper or drawing paper. If you're printing, make sure your printer can handle your chosen paper type.
How long do homemade wax paper stickers last?
Homemade stickers usually last for a few weeks to a few months. Their lifespan depends on where you stick them and how much they're handled. Keeping them away from moisture and direct sunlight helps them last longer.
Can I make these stickers waterproof?
To a certain extent, yes. Covering your sticker completely with clear tape helps make it water-resistant. But remember, they're not entirely waterproof, so it's best to avoid using them on items that get wet often.
Are these stickers removable or permanent?
These stickers are more on the removable side. They stick well but can be peeled off without leaving much residue. For a more permanent solution, consider using a stronger adhesive spray.
Can I use photographs to make these stickers?
Yes! You can use small photographs to make stickers. Just ensure the photo paper isn't too thick for the tape to adhere properly. It's a great way to personalize your items with cherished memories!
