How to Seal Paint on Acrylic Keychain
June 30, 2024
Introduction
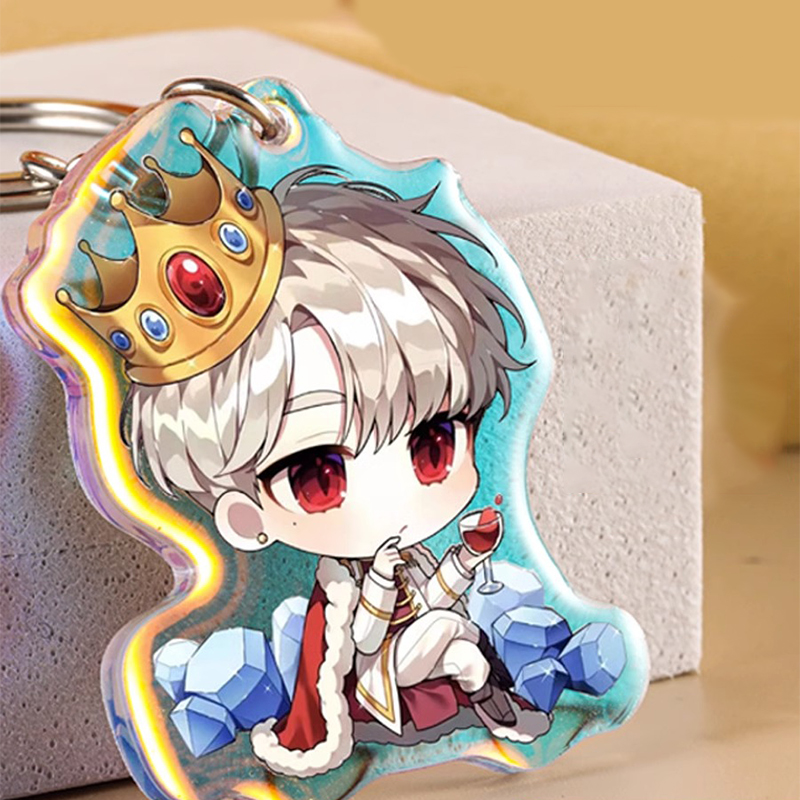
Embarking on the exciting journey of infusing your acrylic keychain with hand-painted designs adds a whole new dimension to your creative endeavors. However, the key to preserving the brilliance of your artwork lies in mastering the intricacies of sealing techniques. In this extensive guide, we will comprehensively explore the realm of sealing paint on it, delving into essential steps, expert insights, and addressing common FAQs. With the help of this extensive tool, you will be supplied with the in-depth expertise and abilities needed to not just create gorgeous handmade masterpieces but also keep their appeal as they age. Get ready to elevate your acrylic keychain crafting experience as we unravel the secrets to preserving and protecting your artistic creations.

How to seal paint on acrylic keychain
Sealing paint on it is a crucial step to preserving and protecting your hand-painted designs. Follow these steps for effective sealing:
Allow the Paint to Fully Dry: Ensure that the paint on your acrylic keychain is completely dry before starting the sealing process. This will take some hours or overnight, depending on the type of paint used.
Choose the Right Sealer: Select an appropriate sealer based on your project needs. These are available in various finishes, including matte, satin, and glossy. Choose a sealer that complements your desired final look.
Prepare a Well-Ventilated Workspace: Work in a well-ventilated area or outdoors to avoid inhaling fumes from the sealer. Use protective gear to ensure safety.
Apply the First Coat: Hold it at a distance and apply a thin, even coat of sealer over the painted surface. Ensure complete coverage without over-saturating the paint.
Allow Drying Time: Let the first coat of sealer dry completely according to the product's instructions. This will take about 15-30 minutes.
Sand the Surface (Optional): For a smoother finish, lightly sand the surface with fine-grit sandpaper between coats. Wipe away dust with a clean, dry cloth.
Apply Additional Coats: Apply additional coats of sealer as needed. Most projects benefit from 2-3 coats for optimal protection. Allow each coat to dry thoroughly before applying the next.
Final Drying Period: Let the sealed acrylic keychain dry for an extended period, preferably 24 hours, to ensure that the sealer fully cures and hardens.
Inspect and Touch Up (Optional):Inspect the sealed keychain for any areas that may need touch-ups. If necessary, apply an additional thin coat to those spots.
Handle with Care: Once fully cured, handle your sealed acrylic keychain with care. It is now protected against wear, moisture, and other environmental factors, ensuring the longevity of your hand-painted designs.
Common Mistakes to Avoid while Sealing paint on an Acrylic Keychain
Sealing paint on an acrylic keychain is an essential step, but it's crucial to avoid common mistakes to ensure a flawless finish. Here are some pitfalls to steer clear of:
Rushing the Drying Process: One common mistake is not allowing the paint to fully dry before applying the sealer. Patience is key; rushing can lead to smudging or uneven sealing.
Overloading with Sealer: Applying too much sealer in one go is a common error. A thin, even coat is sufficient. Overloading can result in a tacky finish or an uneven appearance.
Choosing the Wrong Sealer Finish: Selecting the wrong sealer finish for your project can impact the final look. Matte, satin, and glossy finishes each have their place, so choose based on your desired outcome.
Neglecting Ventilation: Sealing should be done in a well-ventilated area or outdoors. Neglecting proper ventilation can lead to inhaling fumes and affect the quality of the seal.
Skipping Surface Preparation: Neglecting to prepare the surface before sealing, such as not cleaning or sanding, can result in an uneven or less durable finish.
Not Allowing Sufficient Drying Time Between Coats: Applying additional sealer coats without allowing proper drying time can cause the layers to mix, leading to an inconsistent appearance.
Ignoring Safety Precautions: Safety first! Not using protective gear like masks and gloves when working with sealers can pose health risks. Always prioritize safety during the sealing process.
Sealing in Dusty Environments: Sealing in dusty environments can lead to particles settling on the wet sealer, affecting the final look. Work in a clean, dust-free area.
Skipping Quality Checks: Failing to inspect the keychain for imperfections or missed spots after each sealing coat can result in overlooked touch-ups and an uneven finish.
Handling Before Full Curing: Handling the acrylic keychain before the sealer has fully cured can leave marks or indentations. Ensure the recommended curing time has passed before touching the sealed surface.
The exact spot to learn more
DESEN is like the ultimate spot for everything acrylic keychains! They not only have a bunch of cool customizable options but also act as this awesome info hub for both newbies and craft pros. The site spills all the deets on how to craft these keychains, what materials to use, and loads of design ideas. It's the perfect place for anyone wanting to know more about acrylic keychains. Whether you're a seasoned craft wizard or just starting your acrylic keychain journey, DESEN's website is like a creative wonderland, offering both awesome products and a treasure trove of knowledge to spark your imagination.

FAQs
Why do I need to put a seal on my acrylic keychain's paint?
Sealing the paint helps keep your acrylic keychain art safe from wear, water, and other things that might mess it up, making it last longer.
What kind of stuff should I use to seal my acrylic keychain?
Go for an acrylic sealer in the finish you like (matte, satin, or glossy) for the style you want on your keychain.
How many times should I put on the sealer?
Usually, it's best to go for two to three thin coats of sealer to keep your keychain super protected. Let each coat dry well before adding the next.
Do I really need to sand between putting on sealer coats?
If you want a super smooth finish, give it a light sand between coats with fine-grit sandpaper. And wipe off any dust before the next coat.
Is it okay to put the sealer on my keychain inside the house?
You can, but make sure there's good airflow or, even better, do it outside to avoid breathing in any fumes.
What if I see some spots that need more sealer later on?
No worries! If you spot any spots that need it, just add a bit more sealer to keep it looking awesome.
When can I start showing off my sealed acrylic keychain?
Give it at least a whole day, around 24 hours, to fully dry and get all tough before you start showing it off. No rush!
Conclusion
To sum it up, putting a seal on your acrylic keychain paint is like giving it a superpower to stay awesome. This guide has your back, showing you the ropes so your hand-painted keychain can shine for a really long time. Enjoy the creative ride, and let your special keychains tell your cool artistic story for ages. Keep on crafting!