How To Make Acrylic Keychains
June 30, 2024
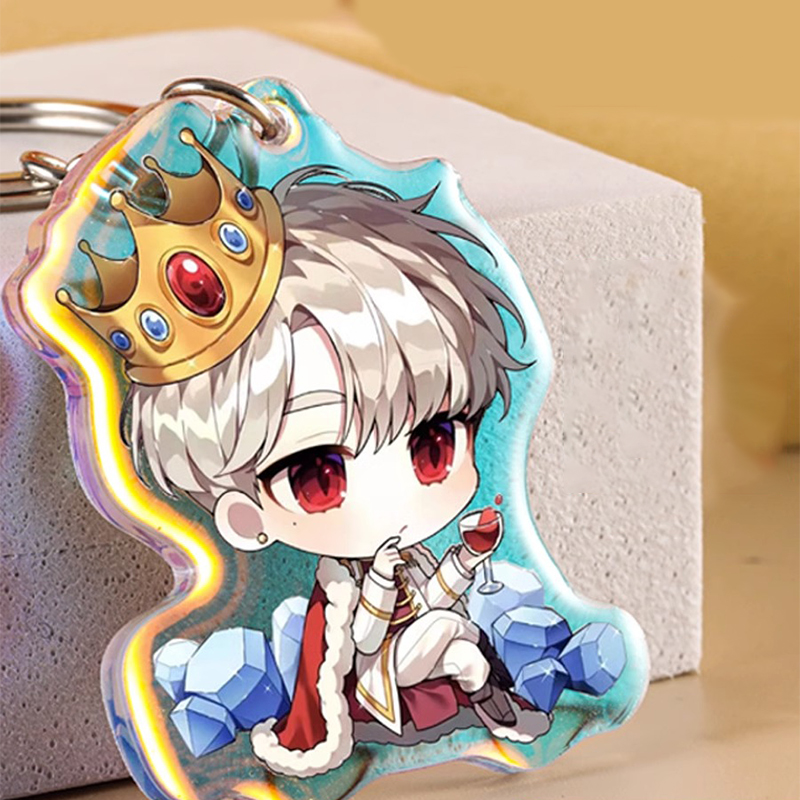
Acrylic keychains are beloved by craft fans and gift-givers. You may modify and express yourself innumerably with these little canvases. They are robust and adaptable, ideal for incorporating a personal touch. Let's examine how to make acrylic keychains.
How to make acrylic keychains?

List of Required Materials
Acrylic Sheets: Choose premium acrylic sheets in a range of hues and densities to give your keychains more life and sturdiness.
Keychain Hardware (Rings, Chains): Secure, dependable keychain hardware for a sleek finish is available in rings and chains. This gives your project durability and a polished appearance.
Protective Film: Before cutting, place a protective film over the acrylic sheets. This keeps your keychains looking like new and protects the material from damage.
Design Template: Prepare a design template using digital or manual drawing. This provides a framework for creating accurate and eye-catching keychain designs.
Laser Cutter vs Craft Knife: If you like accuracy, go with the laser cutter; if you prefer a hands-on approach, choose the craft knife. You can create detailed designs and precise cuts using both tools.
Sandpaper (Optional): If you want your keychains to look immaculate and professional, you can use sandpaper to smooth the edges.
Step-by-step process of making acrylic keychains

Step by step from designing your keychain to packaging and presentation.
Step 1: Designing Your Keychain
A. Choosing a Design Concept: Select a concept that resonates with your style or fits the theme you have in mind. Whether it's cute animals, geometric patterns, or inspirational quotes, let your creativity guide you.
B. Creating or Obtaining a Design Template: Craft a design template using your artistic flair or source one from online platforms. This template will serve as your roadmap during the crafting process, ensuring precision and consistency.
C. Software Options for Design: Consider using design software like Adobe Illustrator or Canva to bring your vision to life digitally. These tools provide a user-friendly interface for designing intricate patterns and graphics.
D. Considerations for Sizing and Shape: Before diving into the cutting phase, determine the ideal size and shape for your keychains. Consider factors such as practicality, aesthetics, and the overall visual impact you want to achieve.
Step 2: Cutting the Acrylic
A. Using a Craft Knife: Tracing and Cutting: Employ a craft knife for a hands-on approach. Trace your design onto the acrylic sheet, then carefully cut along the lines. Take your time to ensure precision.
B. Utilizing a Laser Cutter: If you prefer a more automated process, use a laser cutter. Set up your design file digitally, ensuring it matches the size and shape specifications. Fine-tune the laser settings based on the thickness and type of acrylic you're using. This step is crucial for achieving clean and precise cuts.
C. Sanding Edges for a Polished Finish (Optional): Smooth out the edges of your keychains with sandpaper for a polished and professional appearance. This step is optional but adds a refined touch to your creations.
Step 3: Removing Protective Film
A. Importance of Protective Film: The protective film on acrylic sheets safeguards them from scratches and damage during the cutting process. Keeping the film intact until the last moment ensures a pristine result.
B. Carefully Peeling Off the Film: Gently peel off the protective film after cutting. Be cautious to avoid smudges or fingerprints on the acrylic surface. This step contributes to the clarity and cleanliness of your keychains.
C. Ensuring Cleanliness and Clarity: Before proceeding, double-check the acrylic surface for any remaining debris or adhesive residue. Cleanliness ensures the final keychain looks flawless and professional.
Step 4: Adding Keychain Hardware
A. Selecting Appropriate Keychain Rings and Chains: Choose sturdy keychain rings and chains that complement the size and style of your keychains. This step is crucial for durability and functionality.
B. Attaching Hardware Securely: Affix the selected hardware to your keychains securely. Ensure a tight connection to prevent accidental detachment during use.
C. Testing the Durability of the Attachment: Give your keychains a gentle tug to test the strength of the attachment. This ensures that the hardware is securely in place and can withstand everyday use.
Step 5: Quality Control
A. Inspecting the Keychain for Imperfections: Carefully examine each keychain for any imperfections such as bubbles, scratches, or irregularities. Address any issues to maintain a high standard of quality.
B. Checking for Sharp Edges: Run your fingers along the edges of the keychain to check for any sharp or rough areas. Sand or file down any edges that might cause discomfort.
C. Verifying the Overall Aesthetic Appeal: Step back and assess the overall aesthetic appeal of your keychains. Ensure that the design is visually pleasing and aligns with your initial concept.
Step 6: Optional Enhancements
A. Adding Embellishments (e.g., Glitter, Stickers): Experiment with embellishments to elevate your keychains. Glitter, stickers, or other decorative elements can add a touch of uniqueness and personalization.
B. Incorporating Multiple Layers: Create depth and complexity by layering different acrylic pieces. This technique adds dimension and visual interest to your keychain designs.
C. Experimenting with Different Finishes (Matte, Glossy): Explore different finishes to give your keychains a distinct look. Matte finishes offer a subtle elegance, while glossy finishes enhance vibrancy and create a polished appearance.
Step 7: Packaging and Presentation
A. Choosing Suitable Packaging Materials: Select packaging materials that protect your keychains during transit while enhancing their presentation. Consider eco-friendly options for an added touch.
B. Presenting Keychains Attractively: Arrange your keychains in an appealing manner within the packaging. Consider color coordination and aesthetic placement for an eye-catching display.
C. Including Care Instructions if Necessary: If your keychains have specific care requirements, include clear and concise instructions in the packaging. This ensures that recipients can enjoy their keychains for a long time.
Final Words
To sum up, acrylic keychains are vital in crafting and gifting. They last long, becoming cherished keepsakes. These versatile accessories make great gifts for various occasions. Adorned with designs or messages, they're tokens of affection and reminders of special moments. Creating and receiving acrylic keychains spreads happiness and fosters connections, one charming accessory at a time.