How Do You Make Wax Paper Stickers
October 31, 2023
Have you ever wanted to make your own stickers but didn't know where to start? Well, you're in for a treat! Making wax paper stickers at home is a super fun and easy project. With some simple supplies like wax paper, an inkjet printer, and a bit of creativity, you can create personalized stickers for any occasion. Whether you're decorating your planner, jazzing up a gift, or even branding your small business, these stickers are a perfect way to add a personal touch. So, get started!
What is a wax paper Sticker?
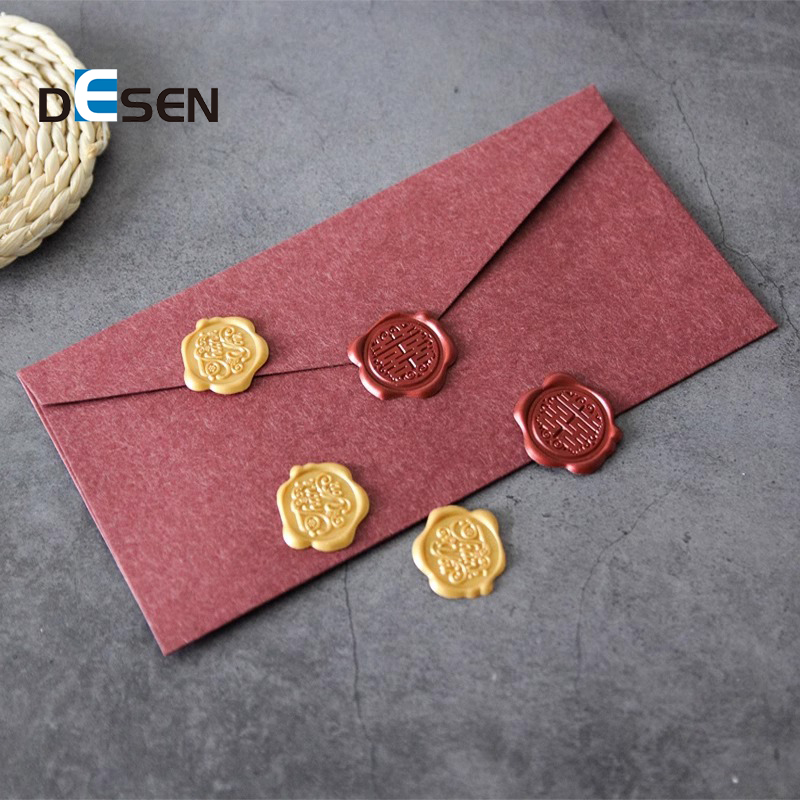
A wax paper sticker is a special kind of label made with a wax backing. The wax makes it easy to peel the sticker off its sheet. You can find these stickers in various shapes, sizes, and designs. They are very versatile and you can use them for many things. For example, you can stick them on gifts, cards, or scrapbooks to add a personal touch.
The front of the sticker usually has a design or message printed on it. This part often has a glossy or matte finish. It can feature anything from cute animals to inspiring quotes. The back part has a layer of wax and adhesive. The wax lets you peel off the sticker without tearing it, while the adhesive makes it stick to surfaces.
Unlike regular paper, wax paper is water-resistant. That means it won't easily get ruined if it gets a little wet. However, these stickers are not as durable as vinyl stickers, so they're best for indoor use. They're also not reusable; once you stick them, you can't move them without damaging them.
What are the importance of wax paper sticker?
A wax paper sticker is a special kind of label made with a wax backing. The wax makes it easy to peel the sticker off its sheet. You can find these stickers in various shapes, sizes, and designs. They are very versatile and you can use them for many things. For example, you can stick them on gifts, cards, or scrapbooks to add a personal touch.
The front of the sticker usually has a design or message printed on it. This part often has a glossy or matte finish. It can feature anything from cute animals to inspiring quotes. The back part has a layer of wax and adhesive. The wax lets you peel off the sticker without tearing it, while the adhesive makes it stick to surfaces.
Unlike regular paper, wax paper is water-resistant. That means it won't easily get ruined if it gets a little wet. However, these stickers are not as durable as vinyl stickers, so they're best for indoor use. They're also not reusable; once you stick them, you can't move them without damaging them.
How do you make wax paper stickers?
Making your own wax paper stickers at home can be a fun and rewarding project. It's easier than you might think! You can use them for crafts, decorations, or even to brand your own small business. Let's get started step-by-step on how to create your very own wax paper stickers.
Step 1: Gather Supplies
First things first, gather all the supplies you'll need. Here's a quick list:
Wax paper
Printer paper
Inkjet printer
Scissors
Glue stick
Clear tape
Design software (like Photoshop or a free tool like Canva)
Step 2: Create Your Design
Open up your design software and let your creativity flow. Make a design that fits the purpose of your stickers. Save your design as a high-quality image file when you're done. This will help you get the best print quality later.
Step 3: Test Print
Before you print on the wax paper, do a test print on regular printer paper. This will help you make sure the colors and design look good. Make any adjustments if needed and then proceed to the next step.
Step 4: Prepare the Wax Paper
Cut a piece of wax paper to the size of standard printer paper (usually 8.5 x 11 inches). Be careful not to tear it. Make sure the wax side is up when you cut.
Step 5: Tape the Wax Paper
Tape the cut piece of wax paper onto the test print. The test print will act as a guide, helping you align the wax paper correctly. Use clear tape to secure all four edges.
Step 6: Load into Printer
Now, carefully load the taped wax paper into the printer’s paper tray. Make sure you load it in the direction that will allow the printer to print on the wax side.
Step 7: Print the Design
Go ahead and print your design onto the wax paper. Be extra careful when you take the printed wax paper out of the printer. The ink will be wet and can easily smudge.
Step 8: Let It Dry
Place the printed wax paper in a safe place and let the ink dry completely. This usually takes about 5 to 10 minutes but can vary depending on your ink and printer.
Step 9: Apply the Glue
Once the ink is dry, apply a thin layer of glue stick onto the printed side of the wax paper. Be gentle and try to spread it as evenly as possible.
Step 10: Stick It onto Printer Paper
Take another piece of standard printer paper and carefully stick the wax paper onto it, glue-side down. Press firmly and make sure it adheres well.
Step 11: Cut the Stickers
Now comes the fun part: cutting out your stickers! Use scissors to cut along the edges of your designs. Take your time and be as precise as possible for the best results.
Step 12: Test the Stickers
Peel off a small corner of the wax paper from the printer paper to see if it comes off easily. If it does, your stickers are ready to use!
Step 13: Apply Clear Tape (Optional)
If you want to make your stickers a bit more durable, apply a layer of clear tape over the printed side. This will give it an extra layer of protection.
Step 14: Final Cuts
If you use clear tape, you’ll need to cut your stickers out again. This time, cut through both the tape and the paper to make the final product.
Step 15: Enjoy Your Stickers!
Your stickers are now ready for use! You can put them on notebooks, gifts, or anywhere you like. Just peel the wax paper off and stick them on.
So, that’s it! You've now learned how to make your own wax paper stickers from scratch. This project is not only cost-effective but also a great way to unleash your creativity.
FAQs
Can I use wax paper stickers outdoors?
Wax paper stickers are best for indoor use. They aren't as durable as vinyl stickers and may not hold up well in outdoor conditions like rain or strong sunlight.
Are wax paper stickers reusable?
No, wax paper stickers are generally not reusable. Once you stick them on a surface, removing them might damage the sticker and reduce its adhesive quality.
Can I print on wax paper stickers with any type of printer?
It's best to use an inkjet printer for printing on wax paper stickers. Laser printers can heat up, which may melt the wax and cause issues.
How do I prevent the ink from smudging on my wax paper stickers?
Allow the ink to fully dry before touching or cutting the stickers. You can also add a layer of clear tape over the design to give extra protection against smudging.
Can I write on wax paper stickers with regular pens?
Writing on wax paper stickers can be tricky because the surface is often slick. Use a permanent marker for best results; regular pens may smudge or not show up well.
